anyone that has looked in a seed catalog or visited a nursery has seen the many different varieties of basil out there. i plant as many as i can in my herb garden. one of my favorites, pictured above, is from a friend. jim, a fellow gardener, shared a plant with me two years ago and it has been reseeding itself in abundance. this year, i returned the favor and gave away at least 25 of the plants but i still have at least that many left in the garden! it is the most unusual basil i have ever encountered; it doesn't have the strong licorice flavor that most basils have, including the flavored varieties. they only thing i can say about the flavor is that the scent of it makes me think of juicy fruit gum and as soon as i mention that out loud, everyone agrees. another characteristic of this plant, it is a little hairy in comparison to other basils. so if you know what variety it is, let me know-and if it isn't a basil, tell me that too. we have compared the flowers as well as the stems and leaves to all of the other basils and they are almost identical except for the hairiness and the scent.
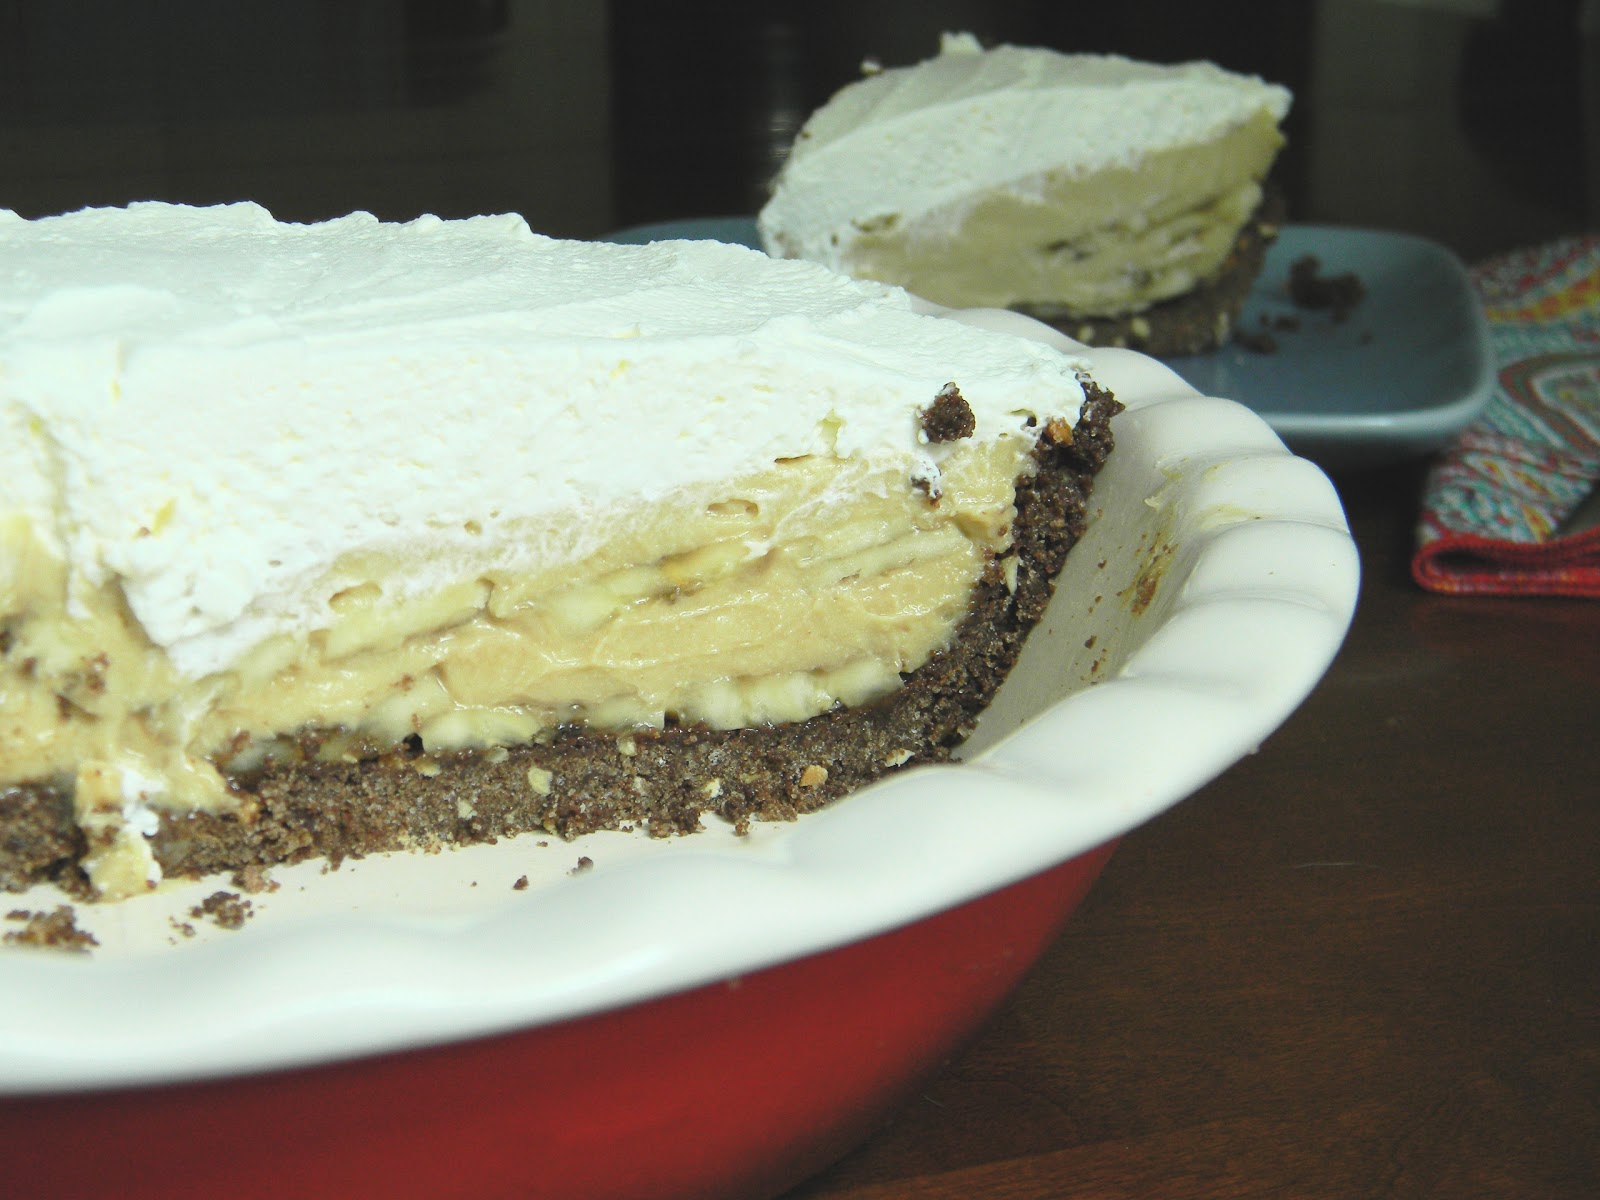
peach-basil custard pie

1 (9") pie that serves 8
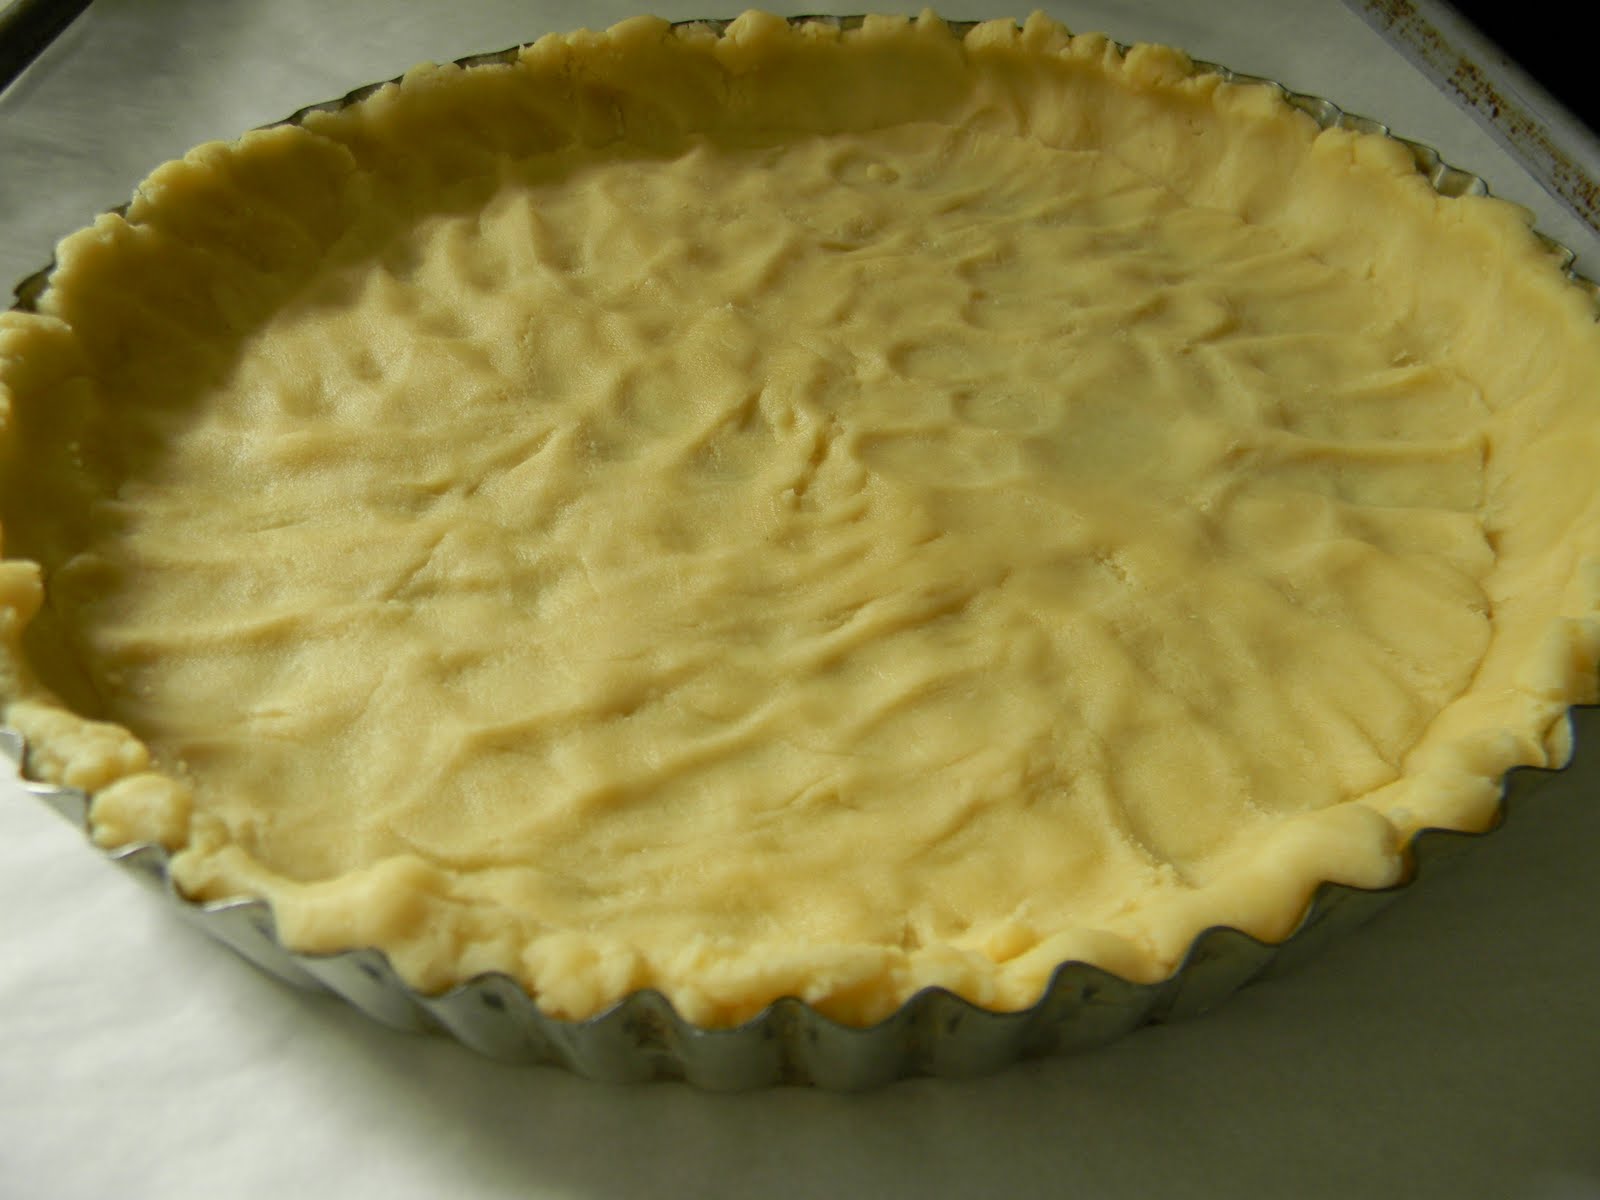
1 (9") fully baked pie shell, purchased or home made
basil custard, recipe follows
4-6 ripe, freestone peaches
1/4 cup peach jelly, jam or preserves (for glazing the tart)
for the pie shell, use the recipe from pie #18 or pie #29 but follow the instructions for prebaking, regardless of which it is, by following the recipe for pie #29. while the pie shell bakes, prepare the custard according to the recipe and chill it completely. scrape the chilled custard into the cooled pie shell and top it with slices of peaches. i made a circular design starting at the outer edge and working my way to the center. place the jelly in a microwave safe bowl with 1-2 tablespoons of water. heat on the low or defrost setting until the jelly boils. stir it to smooth it out and using a brush, coat the peaches to seal them and prevent them from changing color.
basil custard
2 1/4 cups milk
several lemon grass leaves, tied in a bundle
2-3 large sprigs of basil
3 green cardamom pods
1 star anise pod
4 tablespoons cornstarch
1/2 cup sugar
2 eggs
place the milk into a sauce pot with the lemon grass, basil, cardamom and star anise. bring to a low boil and turn off the heat. allow it to steep for at least 30 minutes. strain the milk back into the sauce pot. place the cornstarch in a heat proof bowl and dissolve it with some of the milk. add the sugar to the sauce pot and over medium heat, bring it to a boil. whisk the eggs into the cornstarch mixture. using the directions for pastry cream in pie #29, temper the eggs and cook the custard until thickened. strain the custard into a heat proof dish and press plastic to the surface. chill until completely cold.
and as always, make one and send me a photo-i will post it here! bakinbabe116@aol.com
may the power of basil be with you...